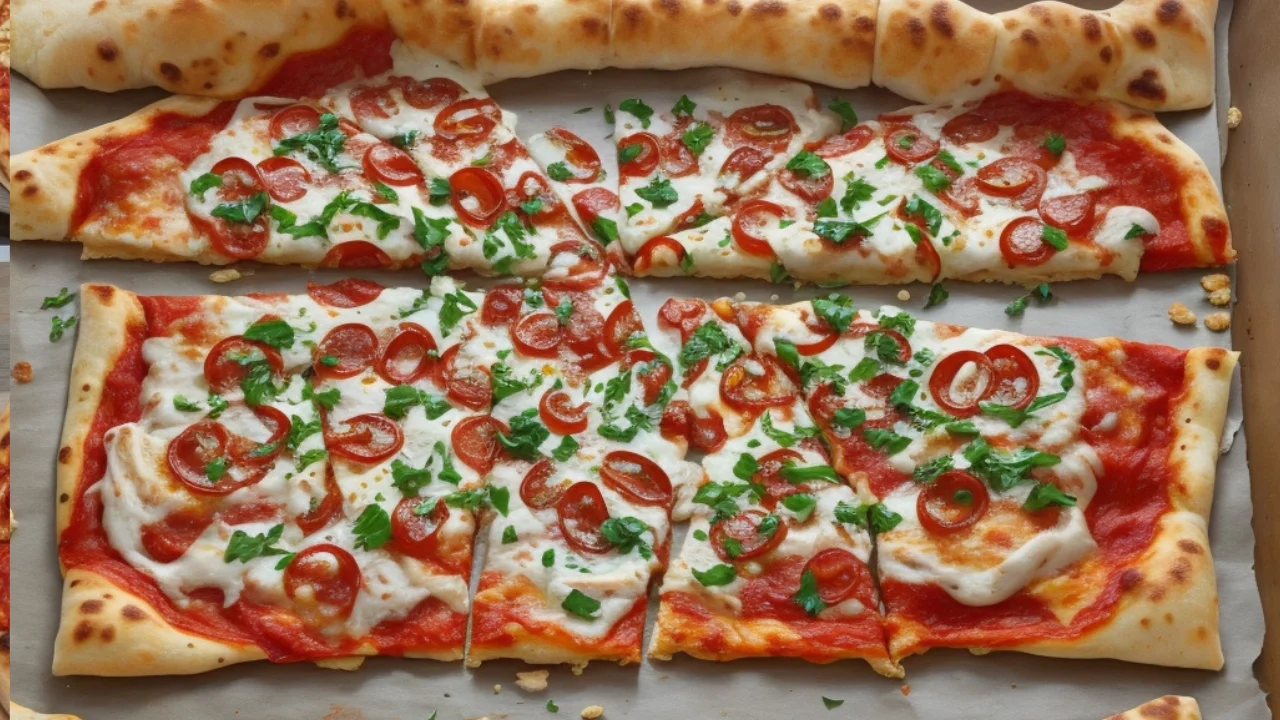
Are you a enthusiast of crispy pizza crusts? If so, cracker crust pizza is the perfect choice for you. This style of pizza is known for its crunch and light texture, making it an ideal base for a variety of toppings. Let’s dive into the details of making the perfect cracker crust pizza dough recipe from scratch.
Why Choose Cracker Crust?
Cracker crust pizza offers a delightful crunch that sets it apart from other types of pizza. Its thin, crispy texture holds up well under various toppings, ensuring that each bite is a perfect balance of crust and toppings.
History of Cracker Crust Pizza
Origin
The cracker crust pizza is believed to have originated in the Midwest, particularly in St. Louis, where it became a staple. Unlike traditional Neapolitan or New York-style pizzas, cracker crust pizza is unique in its thinness and crispiness.
Evolution Over Time
Over the years, cracker crust pizza has evolved, with variations in dough recipes and toppings. Today, it remains a favorite for those who prefer a lighter, crunchier pizza experience.
Benefits of Cracker Crust Pizza
Texture and Taste
The standout feature of cracker crust pizza is its texture. The thin, crispy crust provides a satisfying crunch with every bite, complementing the flavors of the toppings without overpowering them.
Health Benefits
Cracker crust pizza can be a healthier option due to its lower dough-to-topping ratio. Thin crust, fewer carbs.
Versatility
This crust is highly versatile and can be topped with anything from classic pepperoni to gourmet ingredients like arugula.

Ingredients
Equipment
Step By Step Method
- Combine dry ingredients: flour, salt, sugar, yeast. Whisk until well incorporated. Gradually add the warm water and olive oil, mixing until a dough forms.
- Turn the dough onto a lightly floured surface and knead for about 5 minutes until it becomes smooth and elastic. Be gentle when kneading the dough, as over-kneading can lead to a dense and tough texture. Stop kneading once the ingredients come together in a smooth, elastic ball.
- Resting the dough allows the gluten to relax, making it easier to roll out into a thin crust.
- Rest dough, covered, 30 minutes. For better flavor development, you can let it rest in the refrigerator for up to 24 hours.
- Divide the dough into two portions. On a lightly floured surface, roll out each portion into a thin, even circle or rectangle, depending on your preference.
- Roll out dough evenly. Rotate dough every few minutes for even thickness. Aim for 1/8 inch (3 mm) thickness.
- Pre-baking helps to ensure a crispy crust that won’t become soggy when toppings are added.
- Preheat your oven to 450°F (230°C). Place the rolled-out dough on a parchment-lined baking sheet or pizza stone. Golden edges = done! (Bake 5-7 minutes)
- After adding your desired toppings, bake the pizza in a preheated oven at 450°F (230°C) for an additional 10-15 minutes, or until the cheese is melted and bubbly, and the crust is golden brown.
- For extra crispiness, place the pizza directly on a preheated pizza stone or baking steel.
Topping Suggestions
Classic Toppings
- Tomato sauce
- Mozzarella cheese
- Pepperoni
- Fresh basil
Gourmet Variations
- Pesto sauce
- Goat cheese
- Arugula
- Prosciutto
Serving Suggestions
- Serve your cracker crust pizza with a fresh salad or a bowl of minestrone soup for a complete meal.
- Pair with a crisp white wine, a light beer, or a refreshing soda.
Common Mistakes to Avoid
- Don’t overwork dough. Knead just until smooth and elastic.
- Monitor the pizza while baking. Soggy or hard? Bake to the sweet spot!
- Stock leftovers (3 days.)
- Reheat in a preheated oven at 375°F (190°C) for 5-10 minutes to regain its crispiness.
Tips
- Add flour if dough is too gluey.
- If the crust isn’t crispy enough, try baking it longer at a slightly higher temperature or using a pizza stone.
Variations and Twists
- You can make a gluten-free version of this crust by using a gluten-free flour blend. Follow the same instructions, adjusting water as needed to achieve the right consistency.
- Add herbs for extra flavor. You can also mix in garlic powder or grated Parmesan cheese.
FAQ
Q1. Can I make this dough gluten-free?
- Use gluten-free flour blend for gluten-free crust. Follow the same instructions, but be mindful of the dough’s texture and add water or flour as needed.
Q2. How long can I store the dough?
- The dough can be stored in the refrigerator for up to 24 hours. For longer storage, wrap it tightly in plastic wrap and place it in a freezer bag for up to 3 months. Thaw in the refrigerator before using.
Q3. Can I freeze the dough?
- Yes, you can freeze the dough. After kneading, wrap it tightly in plastic wrap and place it in a freezer bag. It can be frozen (3 months.) Thaw in the refrigerator before using.
Q4. What type of flour works best?
- All-purpose flour works well, but you can also use bread flour for a slightly chewier texture or whole wheat flour for added nutrition. Find your perfect combo.
Q5. Can I use this dough for other recipes?
- Absolutely! This dough can be used to make other recipes.


